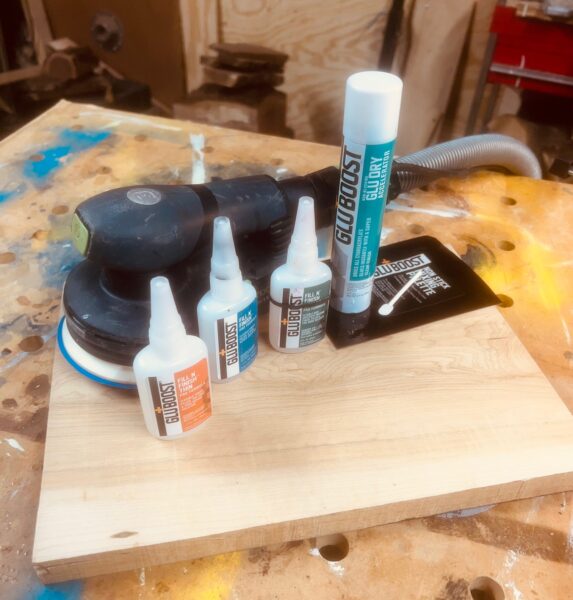
My favorite way to use this remarkable pore filling product.
While there may be a couple of ways to apply GluBoost Fill N’ Finish when filling pores, this is the way that I prefer. First, of course, you need to properly prepare the wood. Simply put, sand it very smooth. Sand up through the grits at least to 220-grit. I prefer to go even higher at least to 320-grit. In my mind, smoother is better.
With the surface of the wood smooth, remove the sanding swarf with a slightly damp shop towel. You can use a tack-cloth if you wish, but they cost money but a damp towel works just as well. Let the moisture from the towel dry.

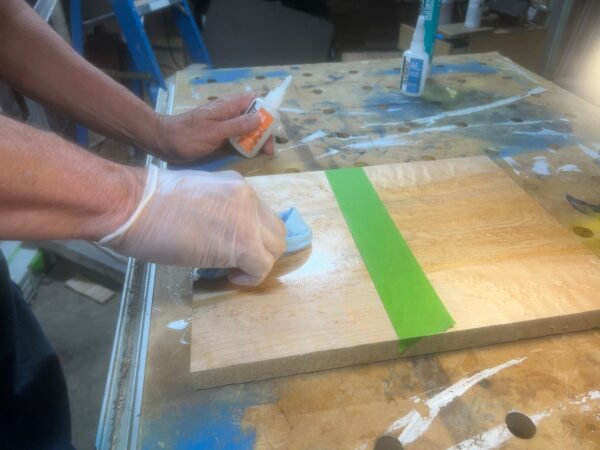
Applying the first coat of Fill N’ Finish
Some woodworkers would now just apply the GluBoost Fill n’ Finish to the wood to fill the pores. This is common with species like maple or ebony. I like to first put down a very thin sealer coat, especially if I am working with a more open grained wood like ash or oak. One more thing, there are two viscosities of Fill N’ Finish, a standard thickness and a thin version. The thicker product works well on those open grained woods like oak and ash, and the thinner product for the closed grain woods, maple, ebony, rosewood etc. Another tip, I will start out with the standard thickness for my first application, but if it needs a second or third, I will use the Fill N’ Finish thin. A kind of one, two punch.
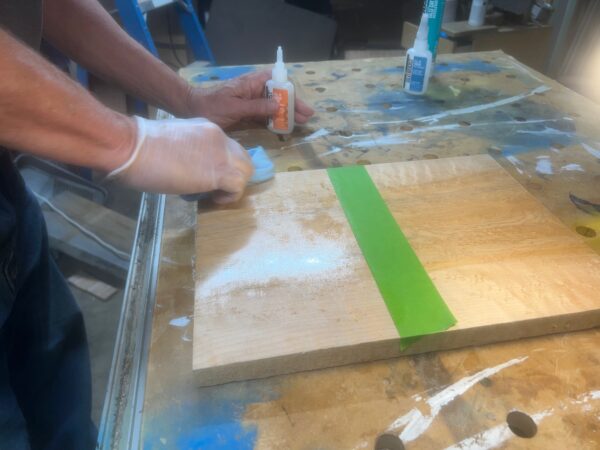
After the sealer coat (shellac, lacquer, etc.) I then apply the Fill N’ Finish with a shop towel spreading it with a circular motion. I’ve also used a plastic card to apply the product. When doing so, squeegee the product across the grain. When the product is evenly on the wood, spray with the GluBoost GluDry. Remember, a little GluDry goes a long way.
Then level the surface by sanding, I suggest 320-grit for this task. Wipe off the swarf and examine the surface with a sweeping light to see if the pores have been filed. In my experience, it usually takes about 2 applications.

Applying the second coat of Fill N’ Finish
After the two or three coats required, level the surface with 320-grit. Now you have a choice. You can continue sanding the surface with ever finer abrasive. (800, 1200, 1500-grit) and then apply a final film finish such as lacquer, shellac or polyurethane Please clarify what a film finish is. Or you can simply apply a film finish and call it good. It all depends on how smooth and reflective you wish the finish to be.

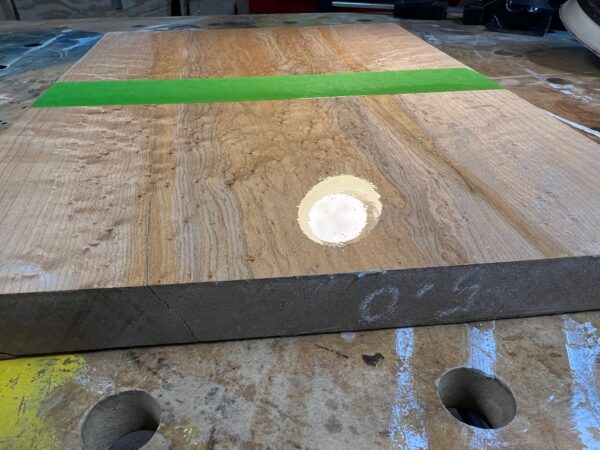
A fresh coat of lacquer shows how the pores have been filled to provide a super smooth and shiny surface.

–Rob Johnstone – Master Woodworker
Manufacturers Note
GluBoost Loves Wood! GluBoost products are highly specialized cyanoacrylate adhesives, accelerators, tints and accessories and are particularly optimized for Lutherie, Woodturning and Woodworking. While GluBoost products bear some resemblance to other products, GluBoost formulas elevate performance high above other CA products, common super glues, accelerators, and color tints for Lutherie, Woodturning and Woodworking.
We thank you for your many years of patronage and we look forward to bringing you many more years of innovative and game changing products.
– The GluBoost Team
Let’s say that you used GluBoost Fill n’ Finish and got a super smooth very shiny finish. But then you thought to yourself, can I...
Read More →Sometimes when you are designing a piece of furniture, a door or a wall panel, you will often need accent pieces to add a bit...
Read More →One great use of Fill n’ Finish is to build up a clear finish on raw wood. Without using any of the typical film coat...
Read More →GluBoost Fill n’ Finish makes a great finish on many projects. (Body) For some woodworkers, applying a finish is that tedious task that you...
Read More →